Creating your Channel
Creating a channel is the very first step for sending notifications via Push. Having a Channel is allows you to establish a communication pathway with your users in Web3.
We will be using Push dApp to create your channel for this turotial though you can also do it from Push SDK create channel API or directly from the Push protocol smart contracts as well.
Choose your deployment environment
You can create your channel on either the staging environment or on the production environment —
- Production dApp - The Production dApp is mainly useful for fully functional dapps & smart contracts that are live on the blockchain. Creating your channel on prod requires 50 PUSH, and it's recommended if you have a good user base or active community who wants notifications.
- Staging dApp - The Staging dapp is very useful for developers to test out channels, send dummy notifications, and understand the functionalities of the Push protocol.
Gather channel requirements
There are six crucial requirements for creating a channel. Make sure you are ready with the below list 👇🏼
- Channel name
- Channel logo (an image of size 128px * 128px)
- An amount of 50 $PUSH tokens in your wallet (and some ETH)
- A brief channel description (250 Characters)
- Channel website URL (call to action link)
- Additional Network settings (Alias address) - Alias address is the representation of your channel on other selected chains of your choice.
The alias address allows you to provide an address that will represent your channel on the other chain selected in the Network dropdown section.
Important: The address you pass as an alias, must be your own as it will be further verified as a part of the channel creation process.
You can pass the same Ethereum (EVM-compatible) address, being used for channel creation, as an alias address for other EVM-compatible chains as well. The Alias address is quite crucial to activate your channel on other chains. Read more about it in page.
Note: The channel address is basically the account(wallet) address you use when creating the channel.
Setup channel
Make sure you are ready with your wallet. Push protocol supports both EOA & Multisig wallets.
Step 1️⃣ - Visit Push dapp
Head to the prod dapp or the staging dapp based on your channel creation requirement.
Step 2️⃣ - Connect to Web3
Connect your Metamask wallet or any other supported wallet!
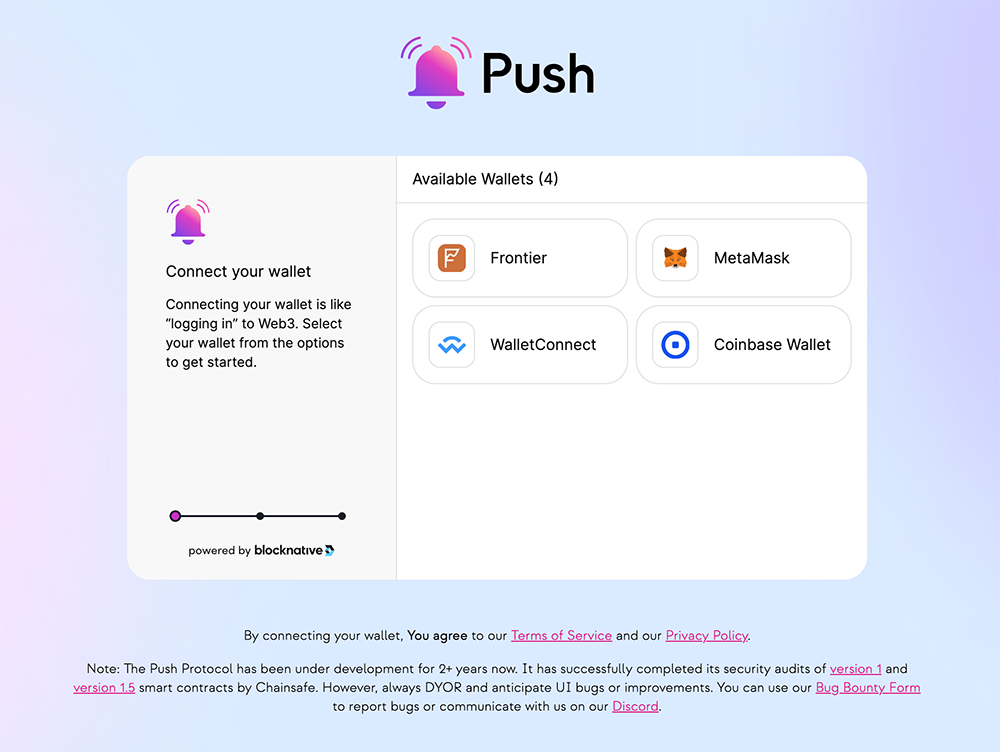
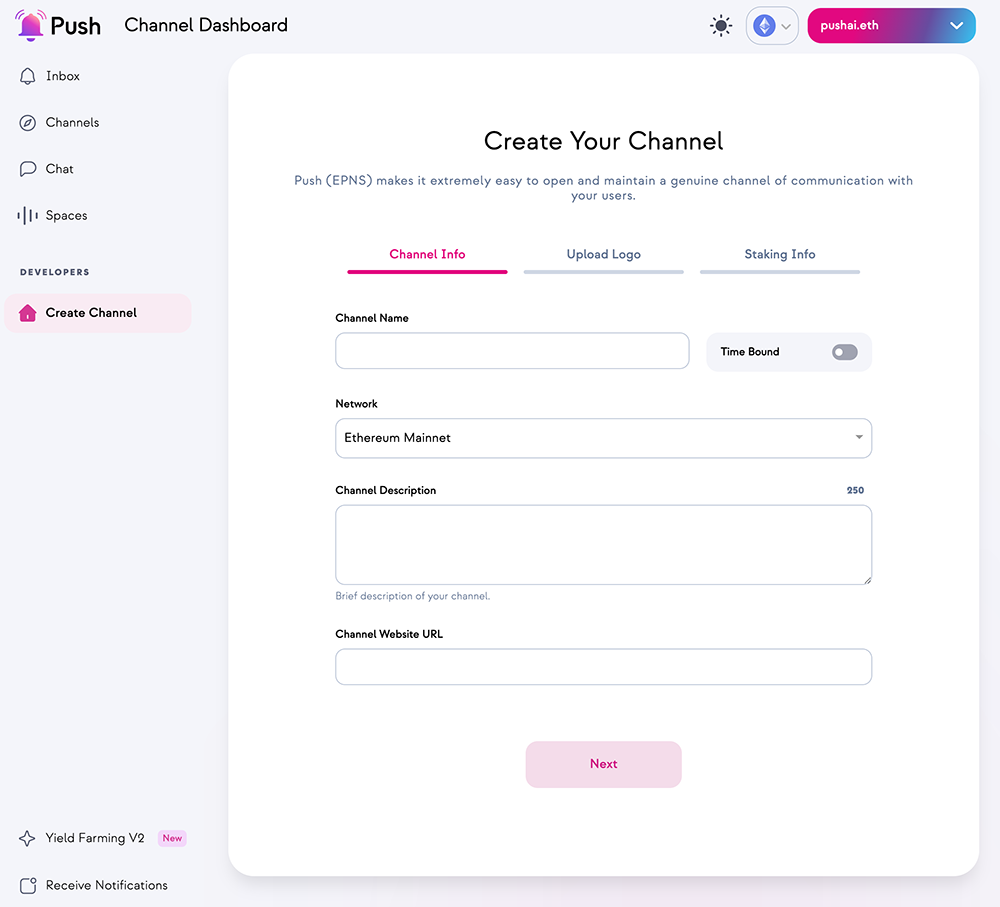
Step 3️⃣ - Developers > Create Channel
Once Connected, go to the Developers > Create Channel and fill in the details
Currently, Channel Alias is the only way to enable multi-chain communication and it is immutable. It's heavily recommended to understand it and set it up as part of channel creation.
If you are on a staging environment, don't forget to mint:
- Get Sepolia ETH from Alchemy Faucet
- Get Sepolia ETH by joining Push Discord > Asking an admin
- Get Sepolia PUSH from Push Testnet Contract
- Get Testnet Matic from Polygon Faucet
Faucets giving you trouble? Head to our Push Discord and ask an admin to send you some.
Step 4️⃣ - Understand and fill details (Especially network and channel alias)
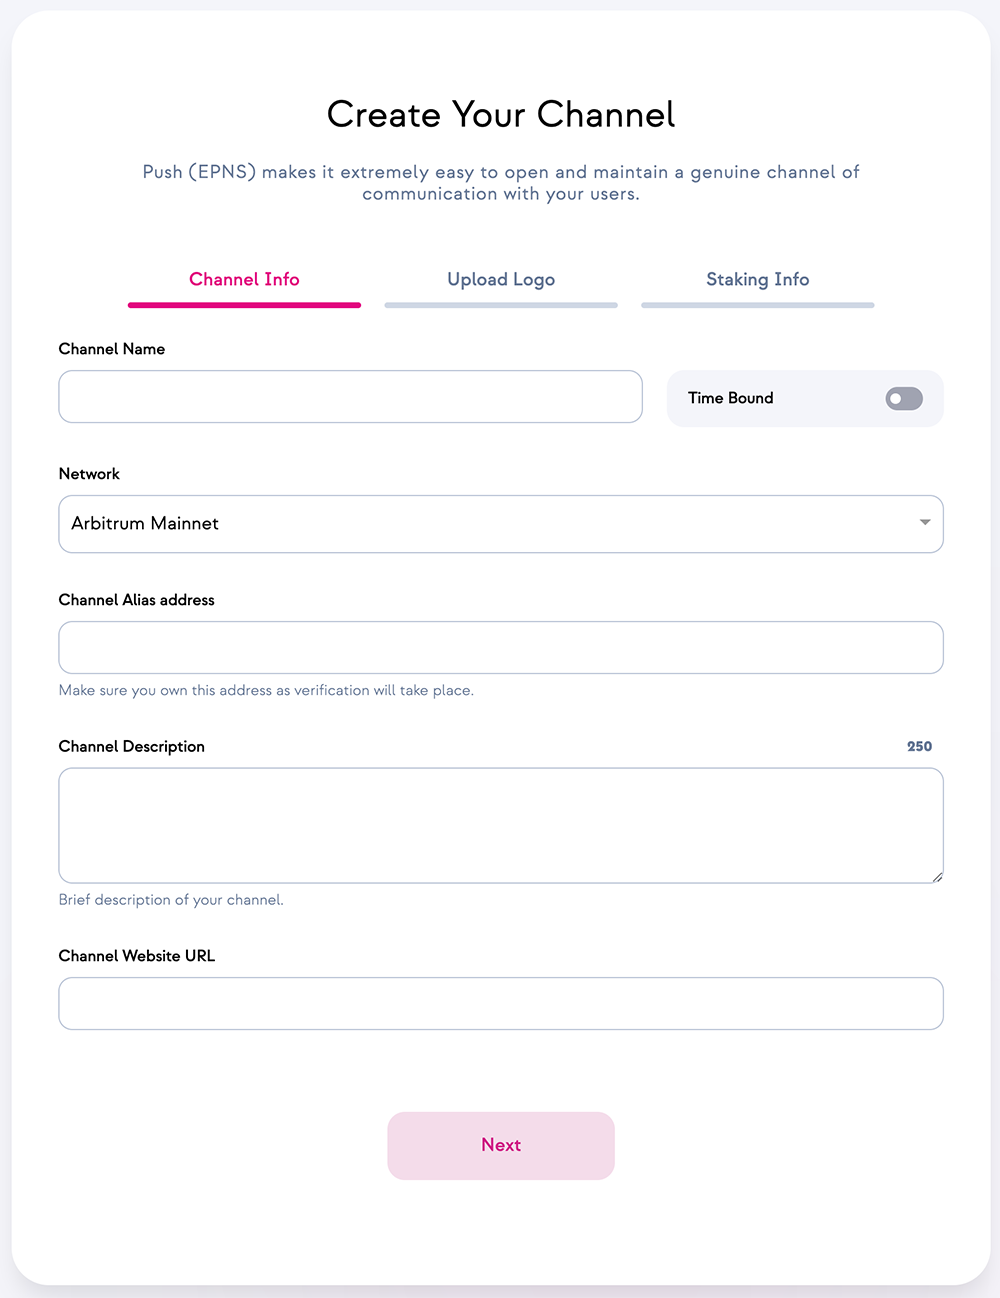
What is a channel alias address?
An alias address is required to enable your channel on other chains so that they are capable of triggering notifications on other chains apart from the Ethereum chain only.
For instance, if you wish to send a notification on the polygon chain, provide the alias address of your channel on Polygon chain. Alternatively, you may choose to keep it blank if you only wish to send notifications on the Ethereum chain itself.
Channel Alias is only shown if you switch to any other network than Ethereum. This means that your channel will be able to send notifications on both Ethereum and the other blockchains which you select!
Step 5️⃣ - Do transactions
You will need to do two transactions (and optionally the third one if you are creating a multi-chain channel, more on that in step 6).
- Approval of PUSH tokens -> This transaction ensures that your wallet address has successfully approved the Push core contract to use 50 PUSH tokens on your behalf.
- Channel Creation on Push Core -> Once approved, the 2nd transaction calls the channel creation function on Push core contract to create the channel.
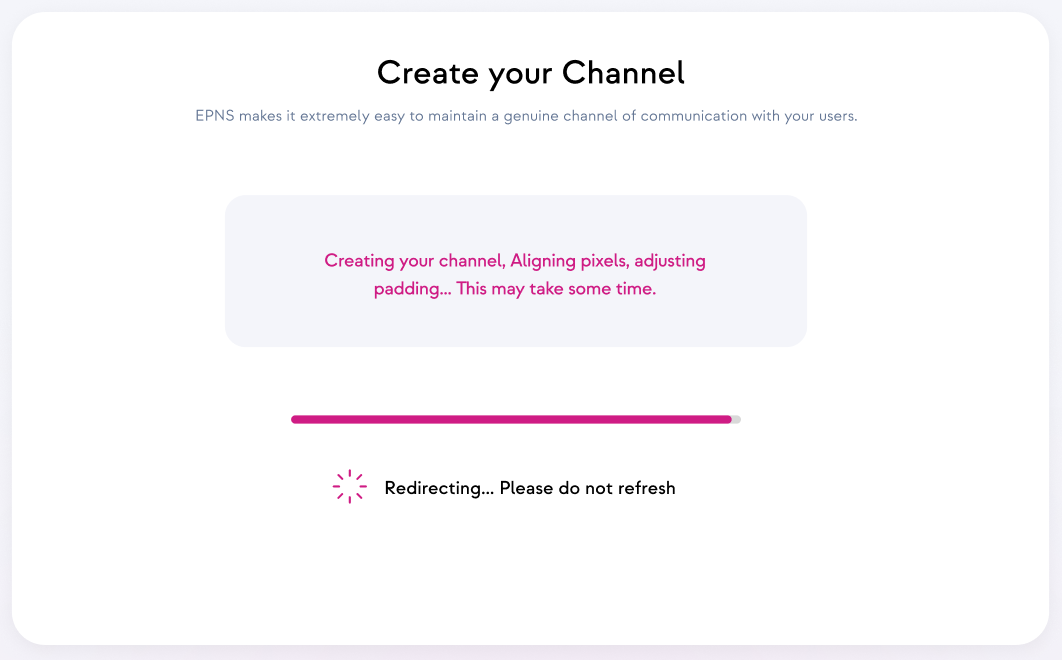
Step 6️⃣ - Verify channel on another blockchain
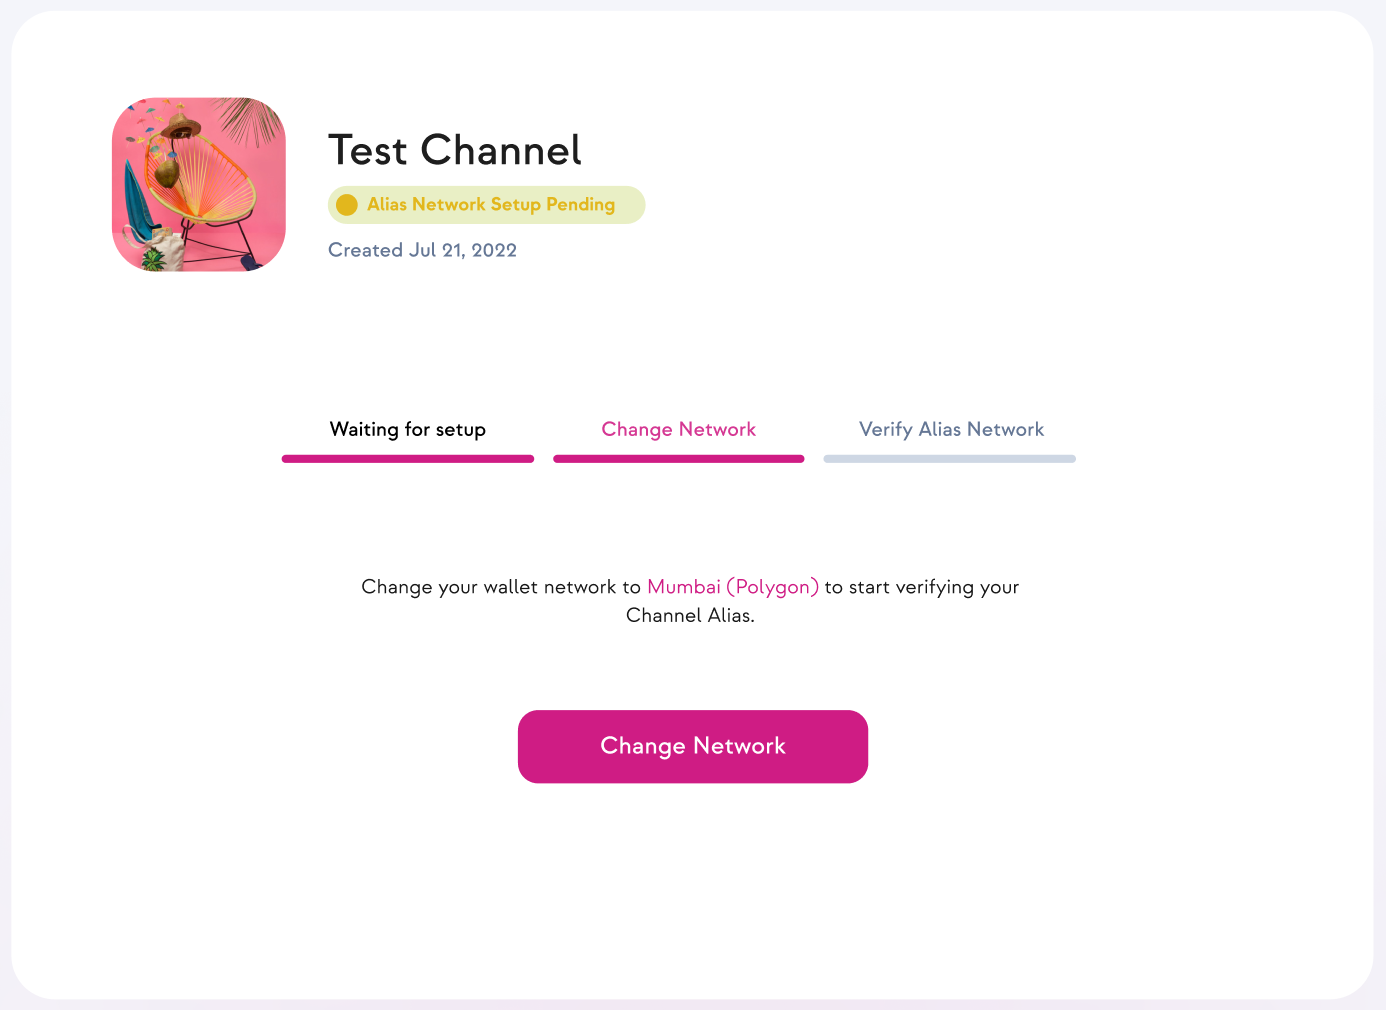
If you have created a multichain channel then you need to switch to that blockchain network and do another tx that verifies your channel on that network.
Adding Delegates For Channel
Delegate addresses enable another address to send a notification on a channel's behalf. A channel can add (or remove) multiple delegate addresses.
Adding channel delegates is a protocol level call but the recommended way to do it is via our dApp or via Push SDK Channel Delegates API.
Delegate addresses are useful to ensure notifications can be sent out from other wallets apart from the one that created the channel. The channel creator is the only one who is able to add or remove a delegate at any time.
Step 1️⃣ - Visit your channel dashboard
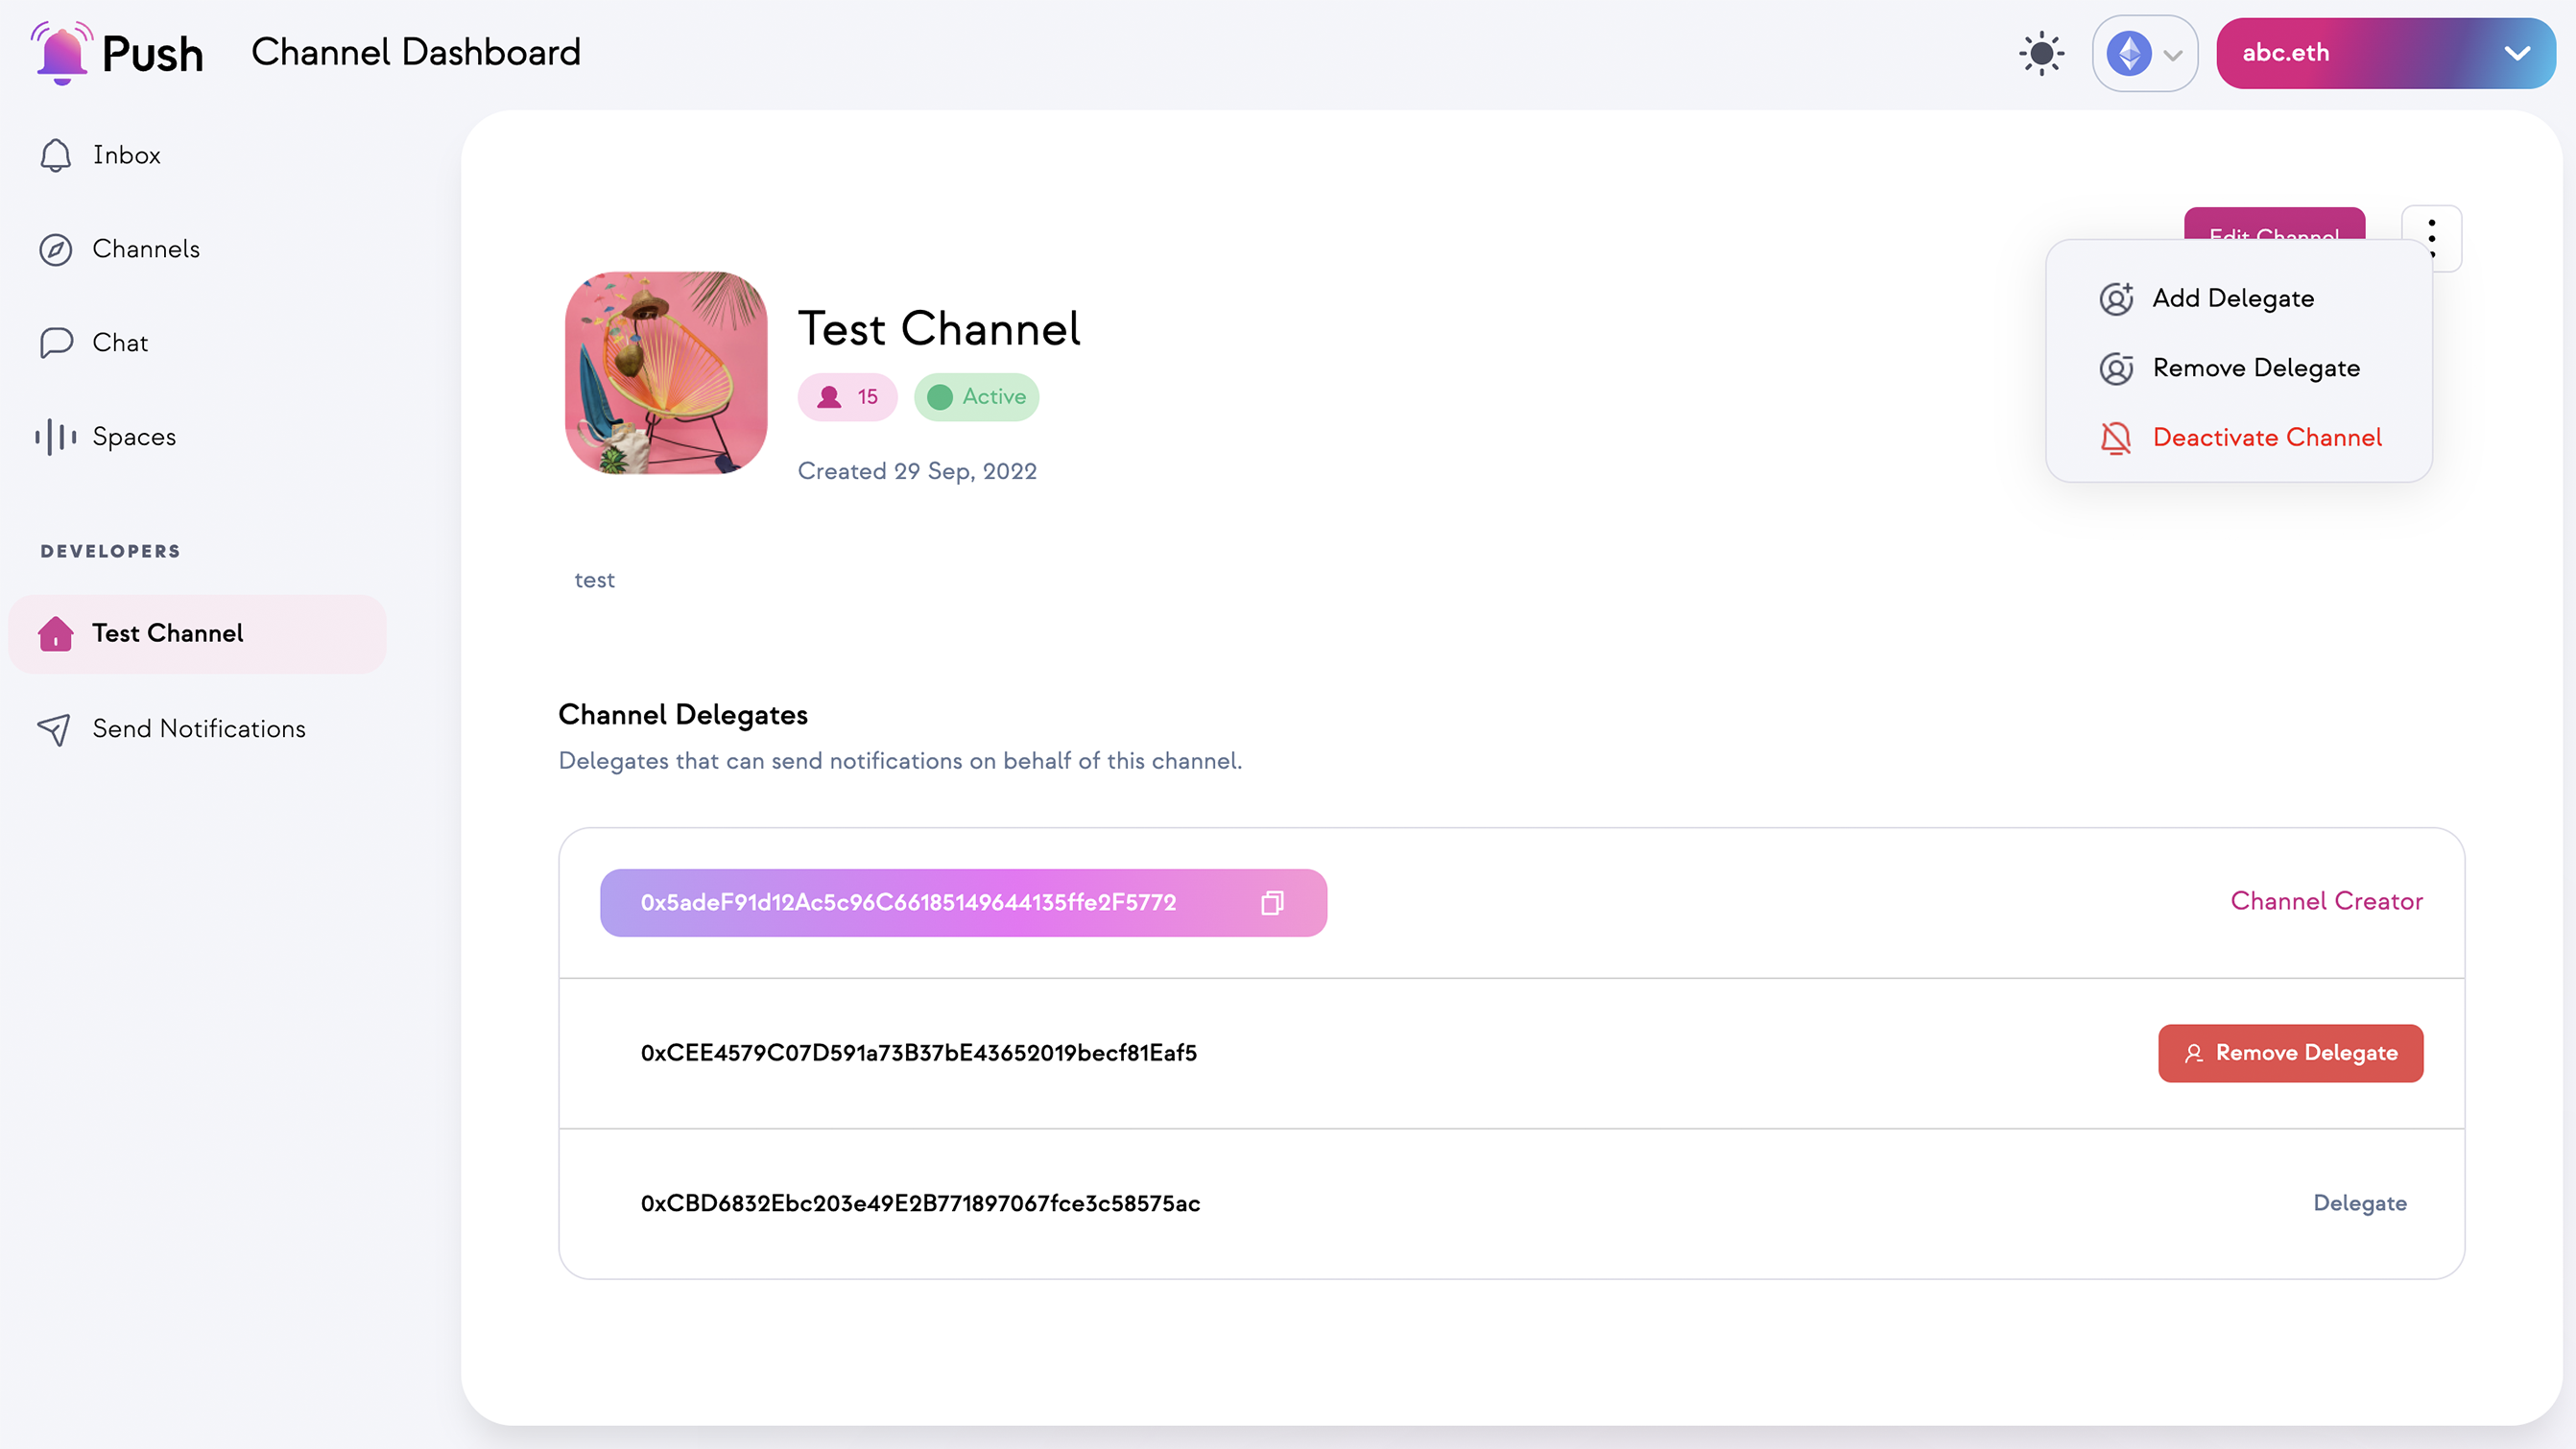
Step 2️⃣ - Add or remove delegates
To add or remove the delegates, tap on the three dots at the top right of your channel dashboard and choose the appropriate option.
About your channel dashboard
After successful channel creation, the Push dApp will start showing the channel's profile Page. There are a few details about this page listed below for your reference;
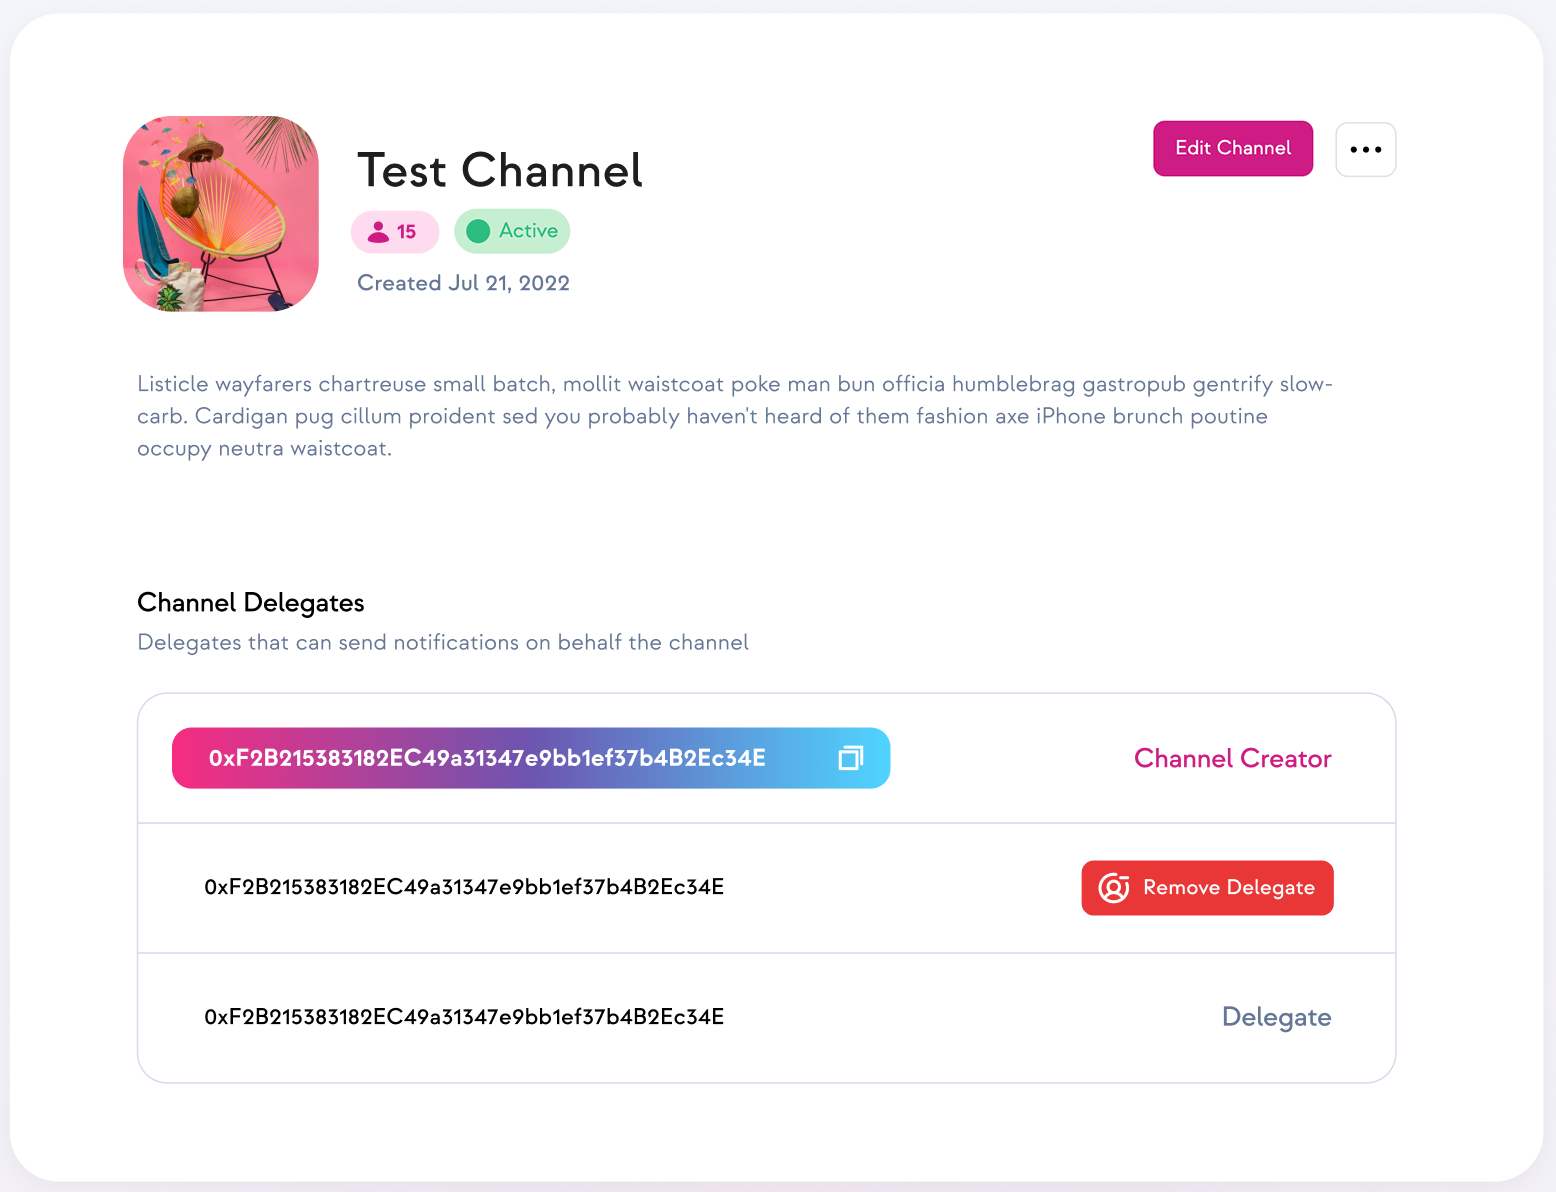
- This Channel Profile page shall only be visible to the Creator of the Channel.
- The Channel Profile page allows the channel owner to trigger notifications to its subscribers via the dApp.
- This page also gives the channel owner access to the Settings button through which the channel owner can perform multiple actions, such as adding a delegate notification sender for the channel, removing a delegate, deactivating the channel, etc.
Alright, now that you own a Channel, start using it to send web3 native notifications to your subscribers and establish better communications in the Web3 world 🥳